Selecting Your Google Analytics Data Stream in Paytics App
-
Sep 02, 2025
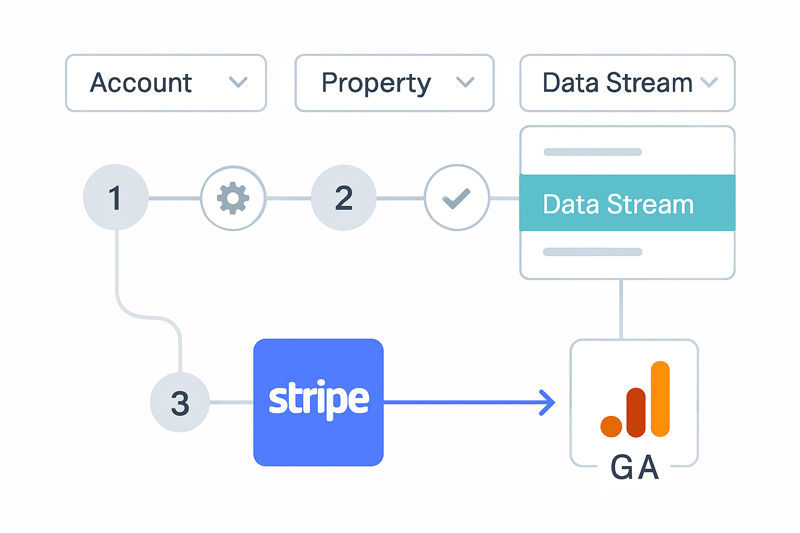
Connecting your Stripe transactions to Google Analytics via Paytics allows you to track and analyze your e-commerce data effectively. This guide walks you through selecting your Google Analytics data stream in Paytics. If you haven’t created a Google Analytics property or data stream, we’ll show you how to set them up.
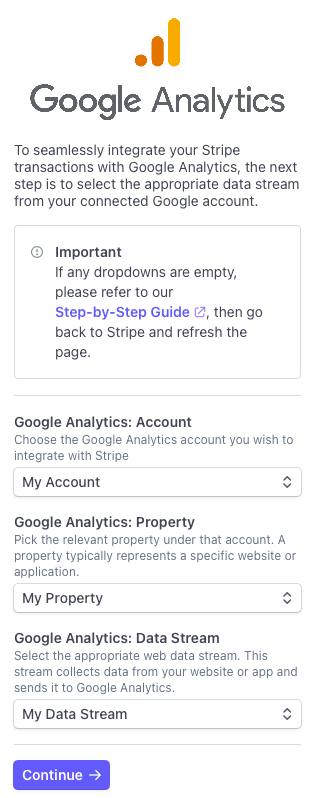
Step 1: Open the Data Stream Selection Page
After linking your Stripe and Google accounts, you'll reach the data stream selection step. Here, you’ll connect your Stripe account to the correct Google Analytics data stream. If you have only one account, Paytics will select it automatically.
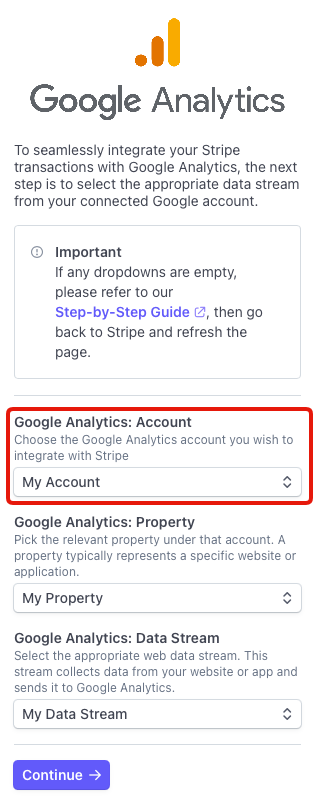
Step 2: Choose Your Google Analytics Account
In the Google Analytics: Account dropdown menu, select the Google Analytics account linked to your website. If you have just one property under this account, Paytics will pick it automatically.
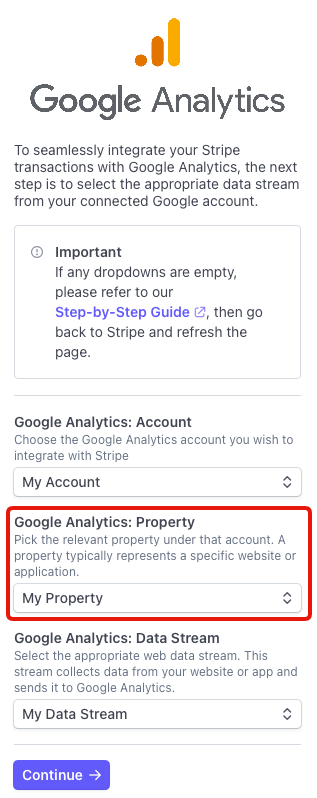
Step 3: Select Your Google Analytics Property
From the Google Analytics: Property dropdown, choose the property that represents your website or app. If you don’t see any properties listed, you may need to create one.
Step 3.1: Creating a Google Analytics Property
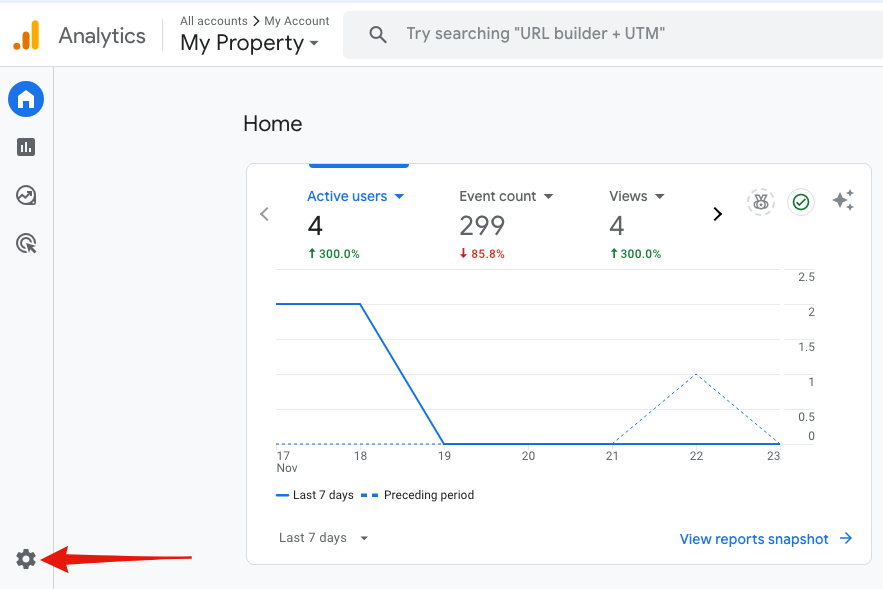
- Visit analytics.google.com and log in.
-
Click on the Admin gear icon in the lower-left corner.
- Under Account, select your account (or create a new one).
-
Under Property, click Create Property.
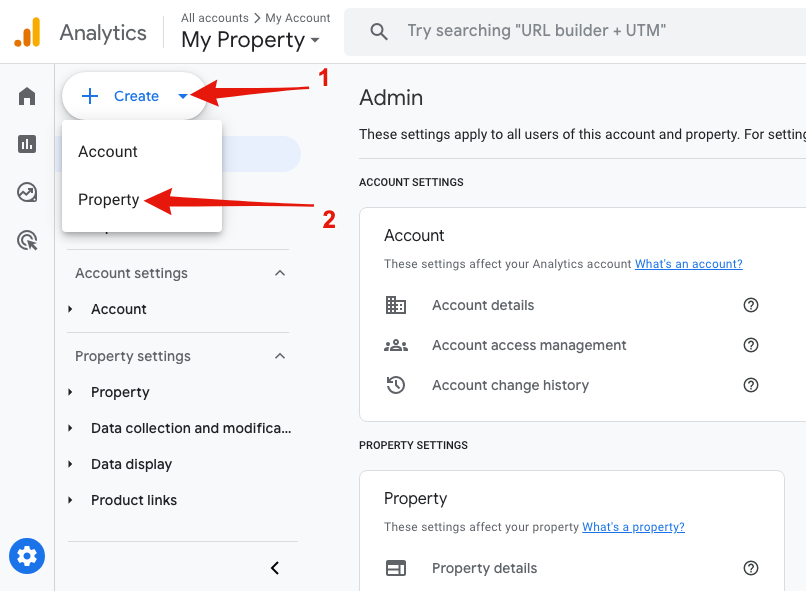
-
Enter a name (e.g., "Paytics Transaction Tracking").
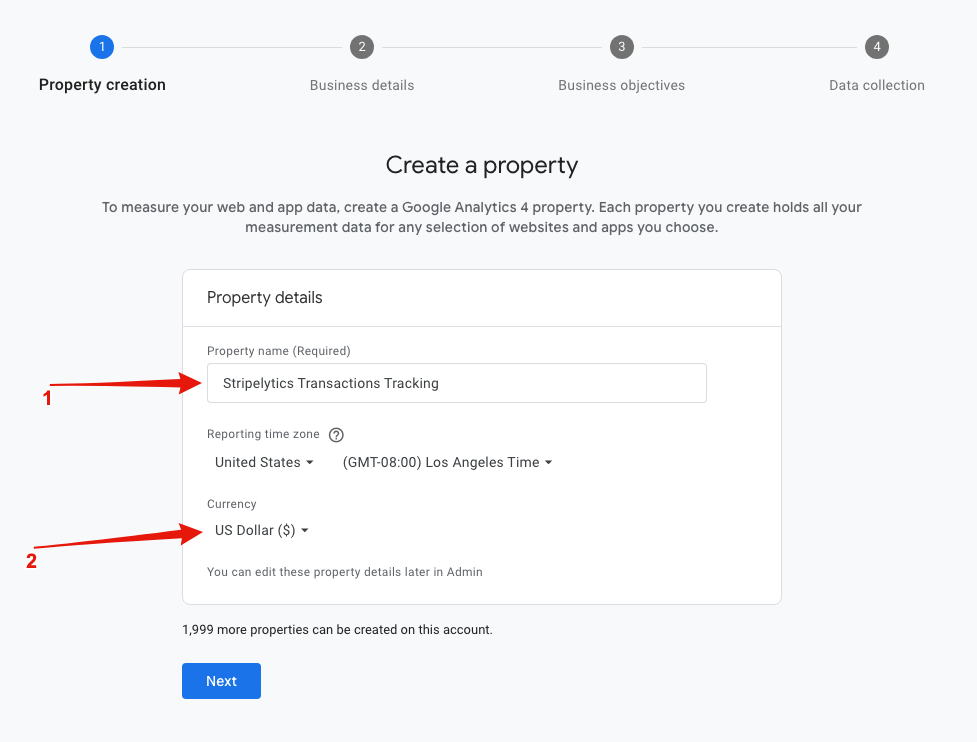
- Select your time zone and currency.
- Click Next, provide business details (if prompted), and click Create.
- Return to Paytics, refresh the page, and select the newly created property from the dropdown list.
Step 4: Choose Your Google Analytics Data Stream
Select the relevant data stream from the Google Analytics: Data Stream dropdown. This stream collects data from your website and sends it to Google Analytics.
Important:
If any of the dropdown menus are empty or you cannot find your account, property, or data stream, you may need to create them in Google Analytics. Follow the steps below to set up a new property and data stream, then return to Paytics and refresh the page.
4.1 Creating a Data Stream in Google Analytics
If you need to create a new data stream:
-
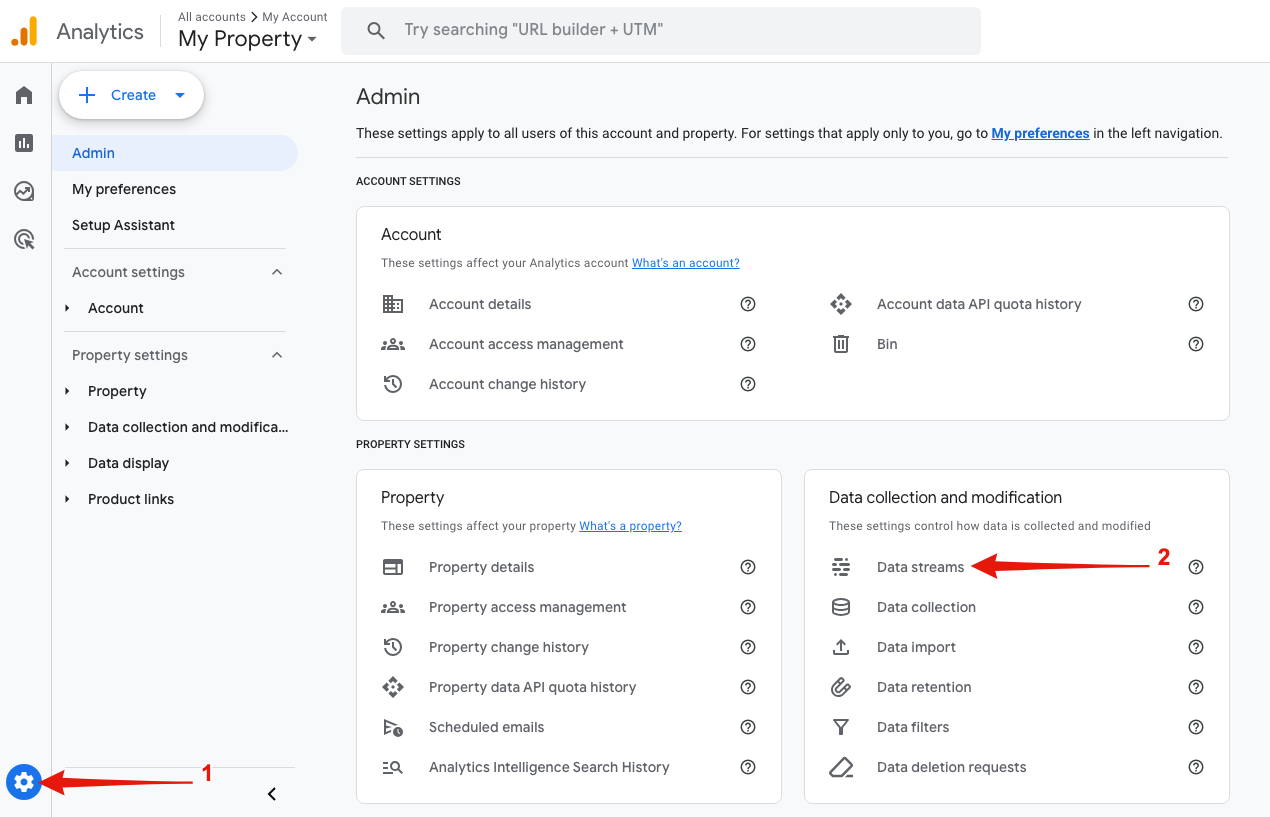
In Google Analytics, go to your newly created property
-
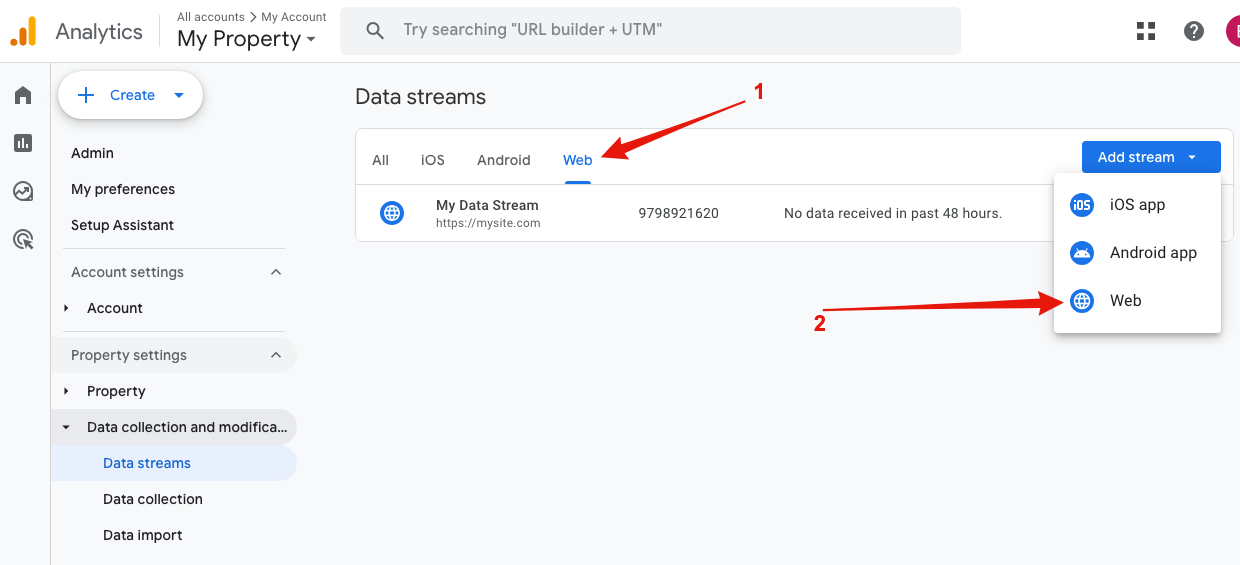
Click on Data Streams in the Property column.
-
Choose the type of data stream you want to create. For most cases, select Web.
-
Enter your website URL and give the data stream a descriptive name.
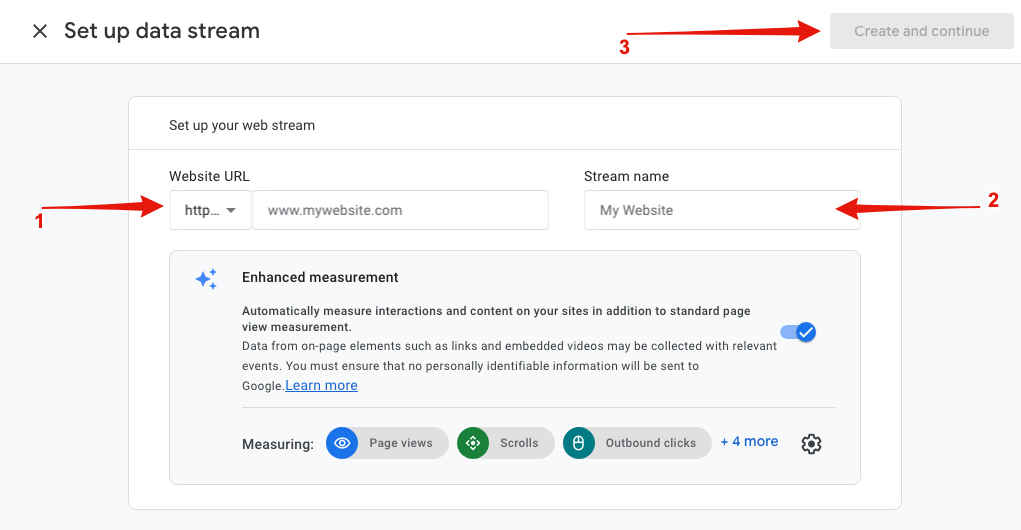
- Click Create Stream to complete the setup.
Note:
Ensure that your data stream is properly configured. You may need to add the Google Analytics tracking code to your website to start collecting data.
Returning to Paytics
Once your property and data stream are set up, go back to Paytics:
- Refresh the Paytics page
- Select your Google Analytics account from the dropdown.
- Choose your Google Analytics Property.
- Pick your data stream from the dropdown list.
Troubleshooting:
If you still don't see your property or data stream:
- Ensure you're logged into the correct Google account.
- Confirm that Paytics has the necessary permissions.
- Wait a few minutes and refresh the page - new properties and data streams may take time to appear.
Conclusion
By selecting the correct Google Analytics data stream you enable Paytics to tracking of your Stripe transactions seamlessly . This integration helps you gain insights into your sales performance and customer behavior, allowing you to make smarter business decisions.