Sending Your Internal User IDs with GA4 through Paytics
-
Sep 02, 2025
Mapping a Custom Identifier to Google Analytics 4
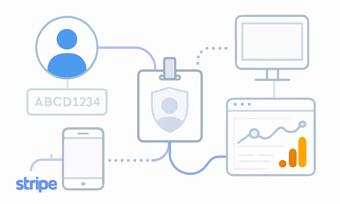
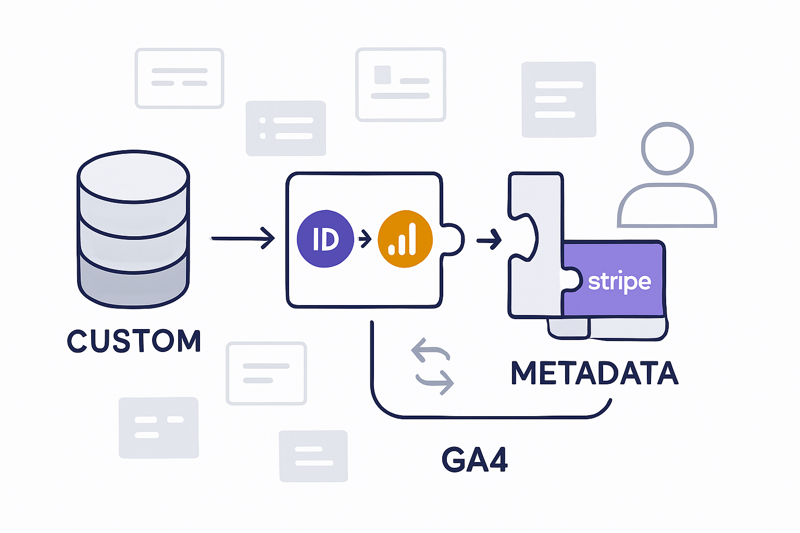
By default, Paytics sends the Stripe Customer ID as the user_id to Google Analytics 4 (GA4). While this works for many use cases, you might prefer to use a different identifier—such as your own internal User ID—for more precise tracking and deeper insights into your customers’ journeys. Follow these steps to customize Paytics with your own User ID.
Why Customize the User ID?
Using a custom User ID allows you to:
- Align with Internal Systems: Track and analyze using the same User ID across all your systems for consistency.
- Enhance Tracking Accuracy: Map your Google Analytics Client ID to your Stripe Customer/User, capturing interactions that happen before Stripe events for a more complete view.
- Improve Personalization: Create a unified view of customer behavior, allowing you to personalize user experiences more effectively.
Step 1: Add Your Custom Identifier to Stripe Customer Metadata
Paytics can read custom User ID from the customer's metadata in Stripe. If you already store your internal user id in the customer's metadata you can skip this step. If not, follow these instructions to add it:
- Log in to your Stripe Dashboard.
- Navigate to Customers and select the customer you want to update.
- On the customer detail page, scroll down to the Metadata section.
- Click on Edit metadata.
- Add a new metadata key-value pair:
- Key: Enter a descriptive key for your custom User ID (e.g., paytics_user_id).
-
Value: Enter the actual custom User ID you want to use.
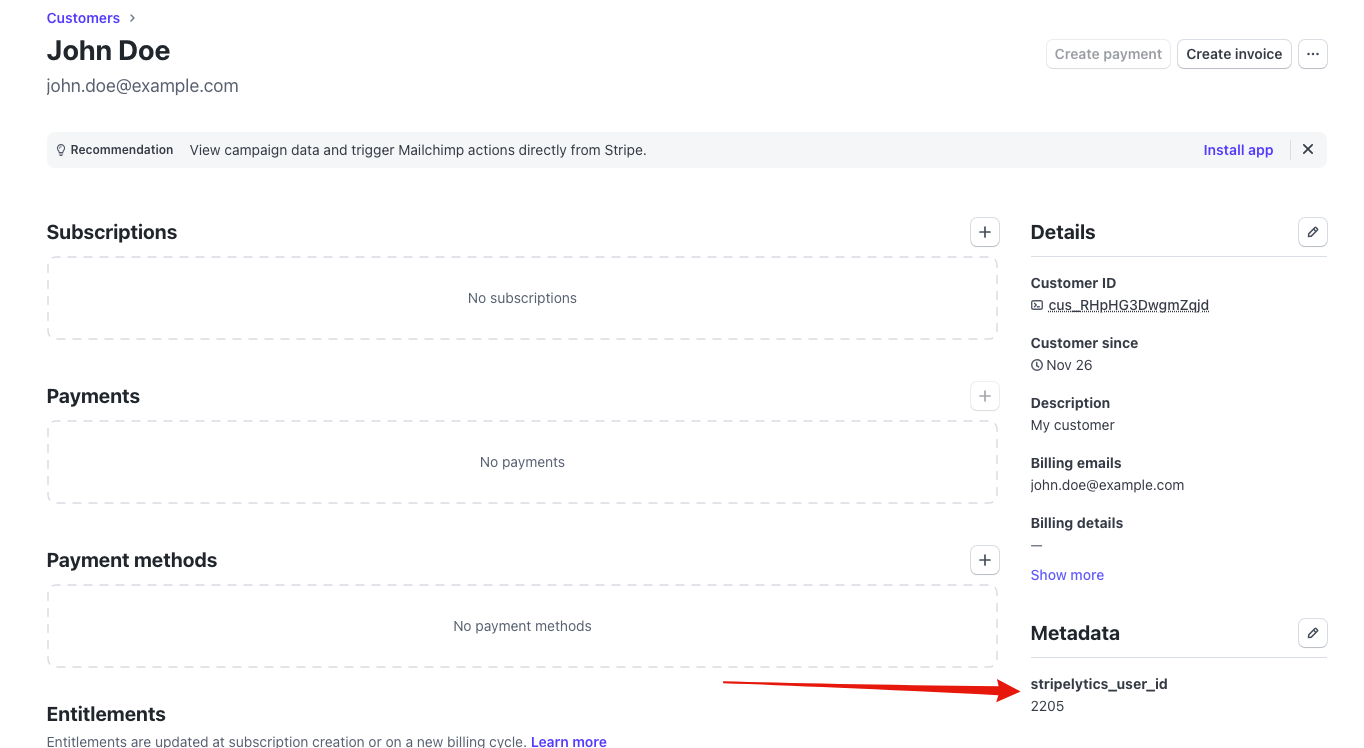
- Click Save to update the customer metadata.
Automating the Process (Recommended)
For streamlined and consistent User ID tracking, we highly recommend automating the addition of your custom User ID to the Stripe customer metadata. This ensures that every customer interaction is accurately recorded. You can ask your developer to implement this automation as part of your application's workflow.
Step 2: Configure Paytics to Use the Custom User ID
Next, update your Paytics settings to use the custom User ID from the customer metadata.
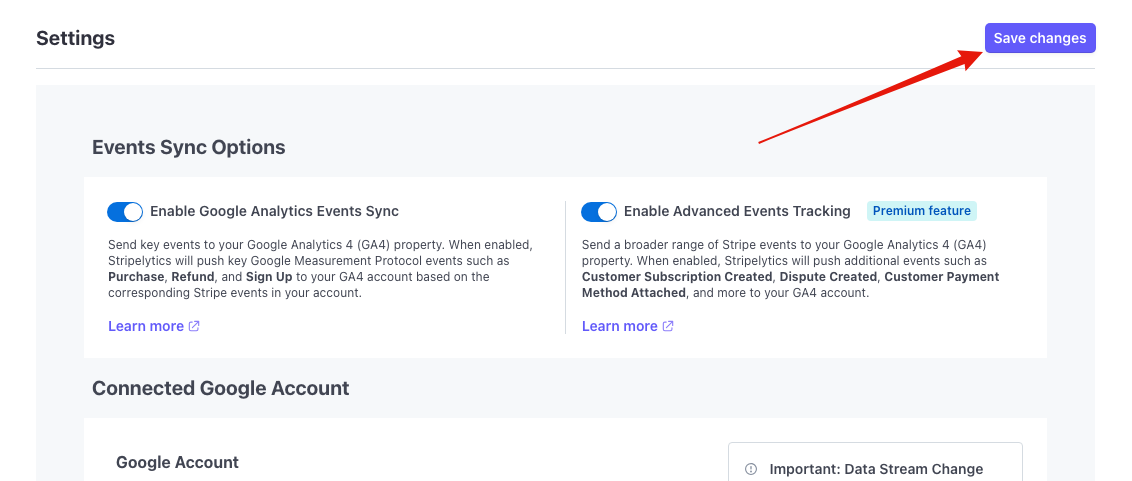
- Log in to your Stripe Dashboard and open the Paytics app.
- Go to the Settings section of the app.
- Scroll down to the Google Analytics User Mapping section.
-
In the input field, enter the metadata key you used in Stripe (e.g., paytics_user_id).

-
Save your settings.
IMPORTANT: It's crucial that the Data Layer used in your Google Tag Manager (GTM) setup utilizes the same User ID that Paytics uses for Stripe events. Consistency between the User IDs in your Data Layer and Paytics ensures accurate mapping of user interactions across your website and Stripe transactions. This unified approach provides a complete view of your users' journeys.
For detailed guidance on implementing this, refer to our previous article on Configuring User ID Tracking in GA4 for Stripe Events.
Conclusion
Customizing the User ID that Paytics sends to Google Analytics 4 allows you to align your analytics with your internal systems, providing more accurate insights into user behavior. By following this guide, you can easily configure Paytics to use a custom identifier, enhancing your ability to make data-driven decisions.
If you have any questions or need assistance, don't hesitate to contact our customer support team at support@paytics.io.